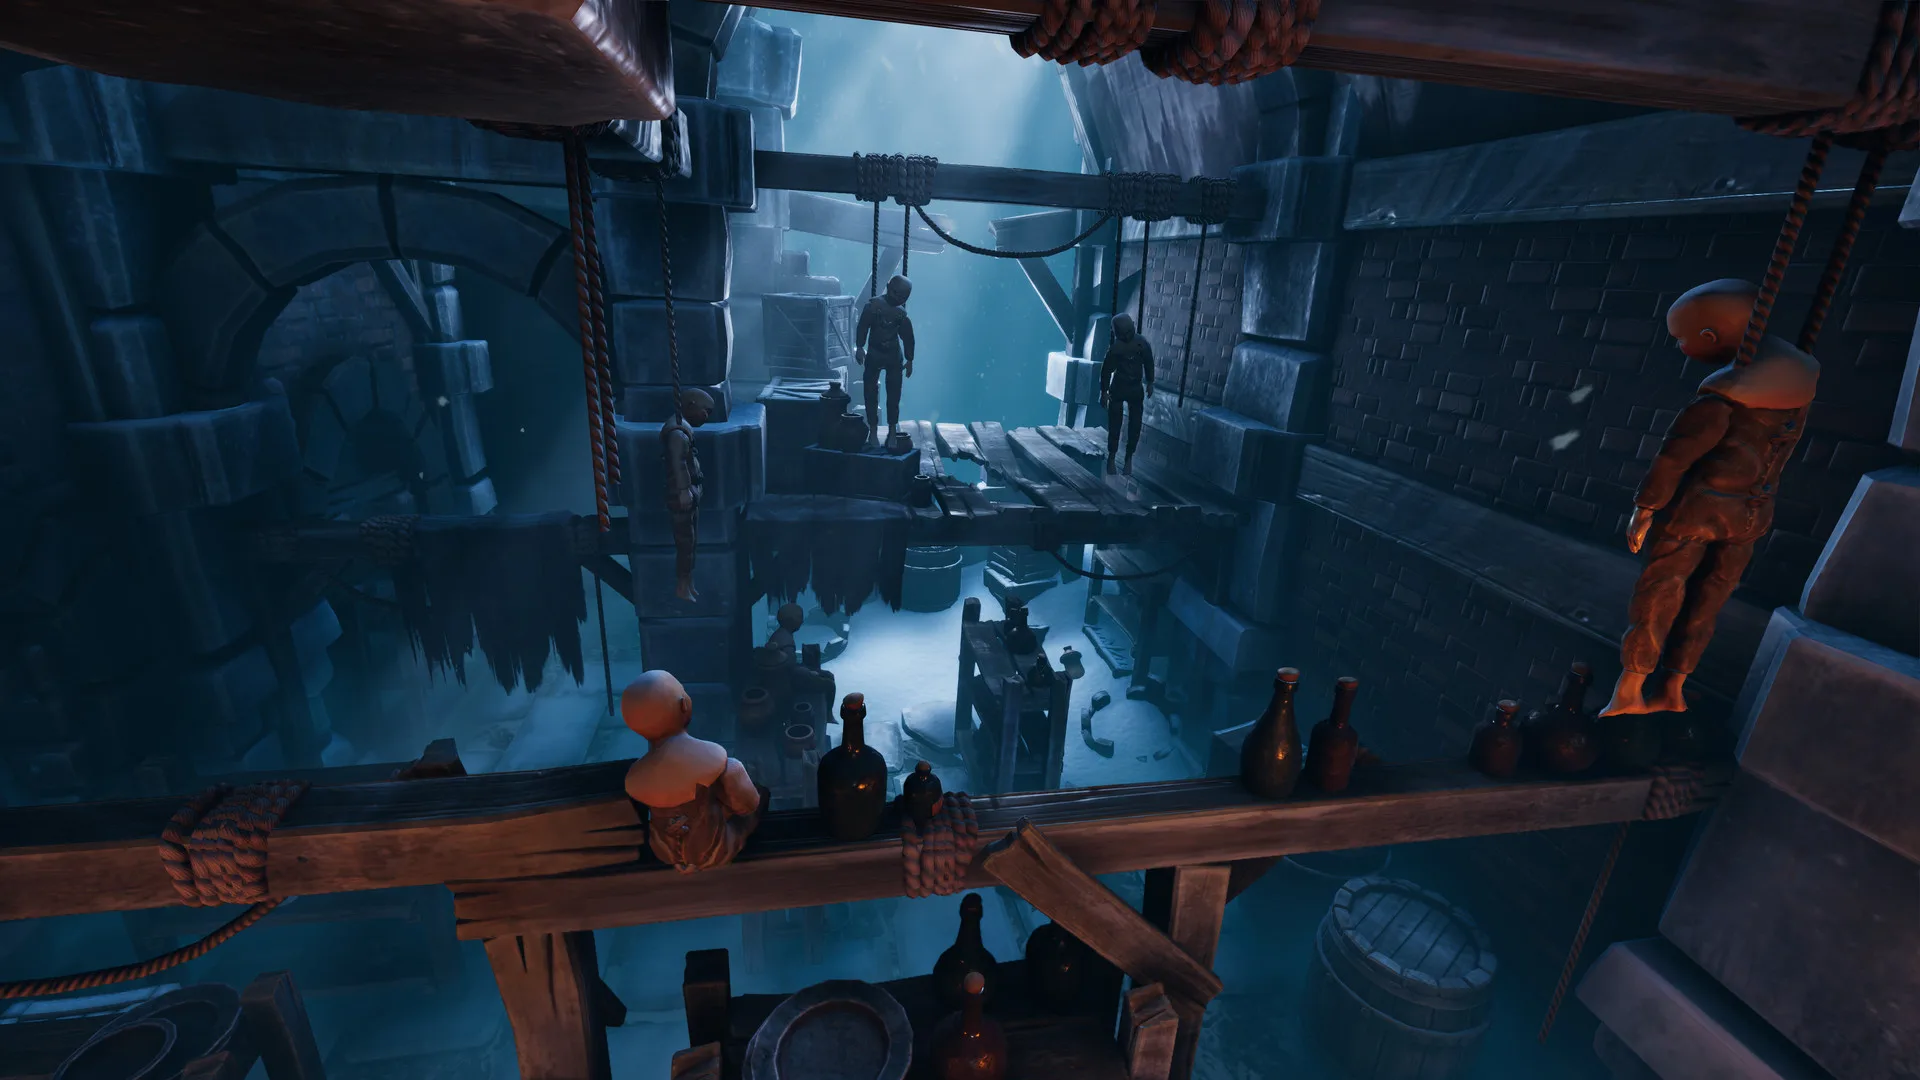
- We Were Here Forever chapter 2 covers the Castle Escape stage, immediately after the opening prison rooms
- Core mechanic: both players hold different halves of each puzzle and must exchange information by voice
- Main challenge: paired mechanisms where actions on one side change the other player's environment
- Best strategy: change one control at a time and confirm every result before continuing
- Goal: unlock the route out of Castle Rock and reach the settlement of Rockbury
Chapter 2 Overview: The Castle Escape
Chapter 2 is the early-game stretch where We Were Here Forever moves beyond the tutorial-style prison rooms and into the deeper chambers of Castle Rock. After both explorers escape their separate cells, the castle opens up into a series of connected rooms filled with shared mechanisms, symbol matching, and timing challenges. This is the first section where puzzle complexity noticeably increases, because both players gain access to different controls and clues at the same time.
Unlike traditional numbered levels, progression in this game is organized by location. Chapter 2 broadly maps to the Castle Escape stage of the journey, sitting between the opening imprisonment and the arrival at Rockbury.
| Stage | Location | Progression | Key Puzzle Focus |
|---|---|---|---|
| Opening | Castle Rock Prison | Tutorial | Communication, symbols, separated rooms |
| Chapter 2 | Castle Rock Chambers | Early Game | Shared mechanisms, navigation, pattern matching, timing |
| Mid Game | Rockbury | Exploration | Environmental clues, multi-stage puzzles |
| Late Game | Frozen Depths | Finale | Mechanical systems, sequential actions |
Make sure both players have working microphones and agree on a naming system for symbols before entering the castle chambers. Communication quality matters more here than in the opening rooms.
Puzzle Types in Chapter 2
Chapter 2 introduces the puzzle patterns that define the rest of the game. Each type splits information between the two explorers in a different way, and recognizing the pattern helps you solve it faster.
Symbol Matching
- One player sees symbols or markings the other cannot inspect
- The other player holds selectable controls or matching patterns
- Agree on consistent names: crown, eye, hook, triangle
Paired Mechanisms
- One player controls doors, platforms, or machinery
- The other sees the results and required configuration clues
- Change one control at a time and describe what changed
Navigation Puzzles
- One player has the route or safe-path information
- The other must physically cross without full knowledge
- Use fixed language: forward, left, right, clock positions
Sequence Puzzles
- One player reads part of an ordering clue
- The other activates objects in the correct order
- Read the full sequence aloud, confirm, then count together
| Puzzle Type | Player One Sees | Player Two Sees | Communication Priority |
|---|---|---|---|
| Symbol Matching | Symbol arrangement | Selectable matching controls | Shape and position names |
| Navigation | Route or map overview | The physical path | Fixed directional terms |
| Paired Mechanism | Controls altering environment | Results and configuration clues | Cause-and-effect reporting |
| Sequence | Ordering clue | Objects to activate | Full readback before acting |
Avoid activating multiple levers or buttons in a row without checking with your partner. Losing track of the puzzle state is the most frequent reason teams get stuck in the castle chambers.
Step-by-Step Chapter 2 Walkthrough
Follow this progression order to move through the Castle Rock chambers efficiently. Each step highlights the main cooperative task and what both players should communicate.
Regroup Mentally After the Prison
Confirm both players are ready and re-establish your symbol vocabulary. Chapter 2 rooms are larger, so agree on how you will describe positions such as top-left, second from the right, or nearest the door.
Explore Your Respective Rooms Fully
Each player should scan for interactive objects, symbols, and mechanisms before attempting anything. Report everything that looks interactive, even if it seems unimportant.
Solve the First Shared Mechanisms
Identify which player holds controls and which player holds clues. Change one mechanism at a time and have the observing player describe exactly what changed before the next action.
Handle the Navigation Sections
When one player must guide the other across an unfamiliar route, move one instruction at a time. Confirm the current position before giving the next direction.
Complete Any Timed Sequences
For mechanisms that require synchronized actions, agree on a countdown first. Use short confirmations like ready, activate, stop, and reset so both players track the sequence state.
Open the Route to Rockbury
Finish the remaining chamber puzzles, confirm both players have passed through each unlocked gate, and proceed toward the abandoned settlement.
After completing each chamber, briefly summarize what was solved and what doors opened. This keeps both players aligned and prevents confusion when routes branch.
Communication Tips for Chapter 2
Chapter 2 is where good communication habits pay off for the entire run. The chambers punish vague descriptions and reward precise, structured exchanges.
| Tip | What to Do | Why It Helps |
|---|---|---|
| Position before appearance | Say top-left, second from right first | Faster identification of similar objects |
| One change at a time | Activate a single control, then report | Keeps puzzle state clear for both players |
| Repeat sequences back | Read the full order aloud before acting | Catches misheard entries before mistakes |
| Confirm before timing | Agree on a countdown, then act | Prevents failed synchronized actions |
| Retrace when stuck | Return to the puzzle start and recompare | Finds clues one player overlooked |
When explaining a room, start with fixed landmarks such as pillars, doorways, and machinery. Vague references like "the thing on the left" cause most communication breakdowns in the castle chambers.
Chapter 2 Completion Checklist:
- Explore every chamber fully before solving
- Establish a consistent symbol naming system
- Solve all shared mechanism puzzles one change at a time
- Complete navigation sections with confirmed instructions
- Finish timed sequences with agreed countdowns
- Exit Castle Rock and reach Rockbury
FAQ
Q: What is chapter 2 in We Were Here Forever?
The game does not use traditional numbered chapters. Chapter 2 broadly corresponds to the Castle Escape stage, the early-game section where the two explorers work through the castle chambers with shared mechanisms after leaving their prison rooms and before reaching Rockbury.
Q: Why do my partner's actions change my room in chapter 2?
The castle chambers use paired asymmetric mechanisms by design. Actions performed by one player often alter the other player's environment, which is why describing each change before continuing is essential.
Q: How do we avoid getting stuck on chapter 2 puzzles?
Change only one control at a time, have the observing player report exactly what changed, and retrace the puzzle from the beginning if progress stops. Missing clues are usually caused by one player overlooking an object or environmental detail.
Q: Can chapter 2 be played solo?
No. We Were Here Forever is built for exactly two players, and the puzzles split clues and controls between both explorers. A partner with voice communication is required to progress.