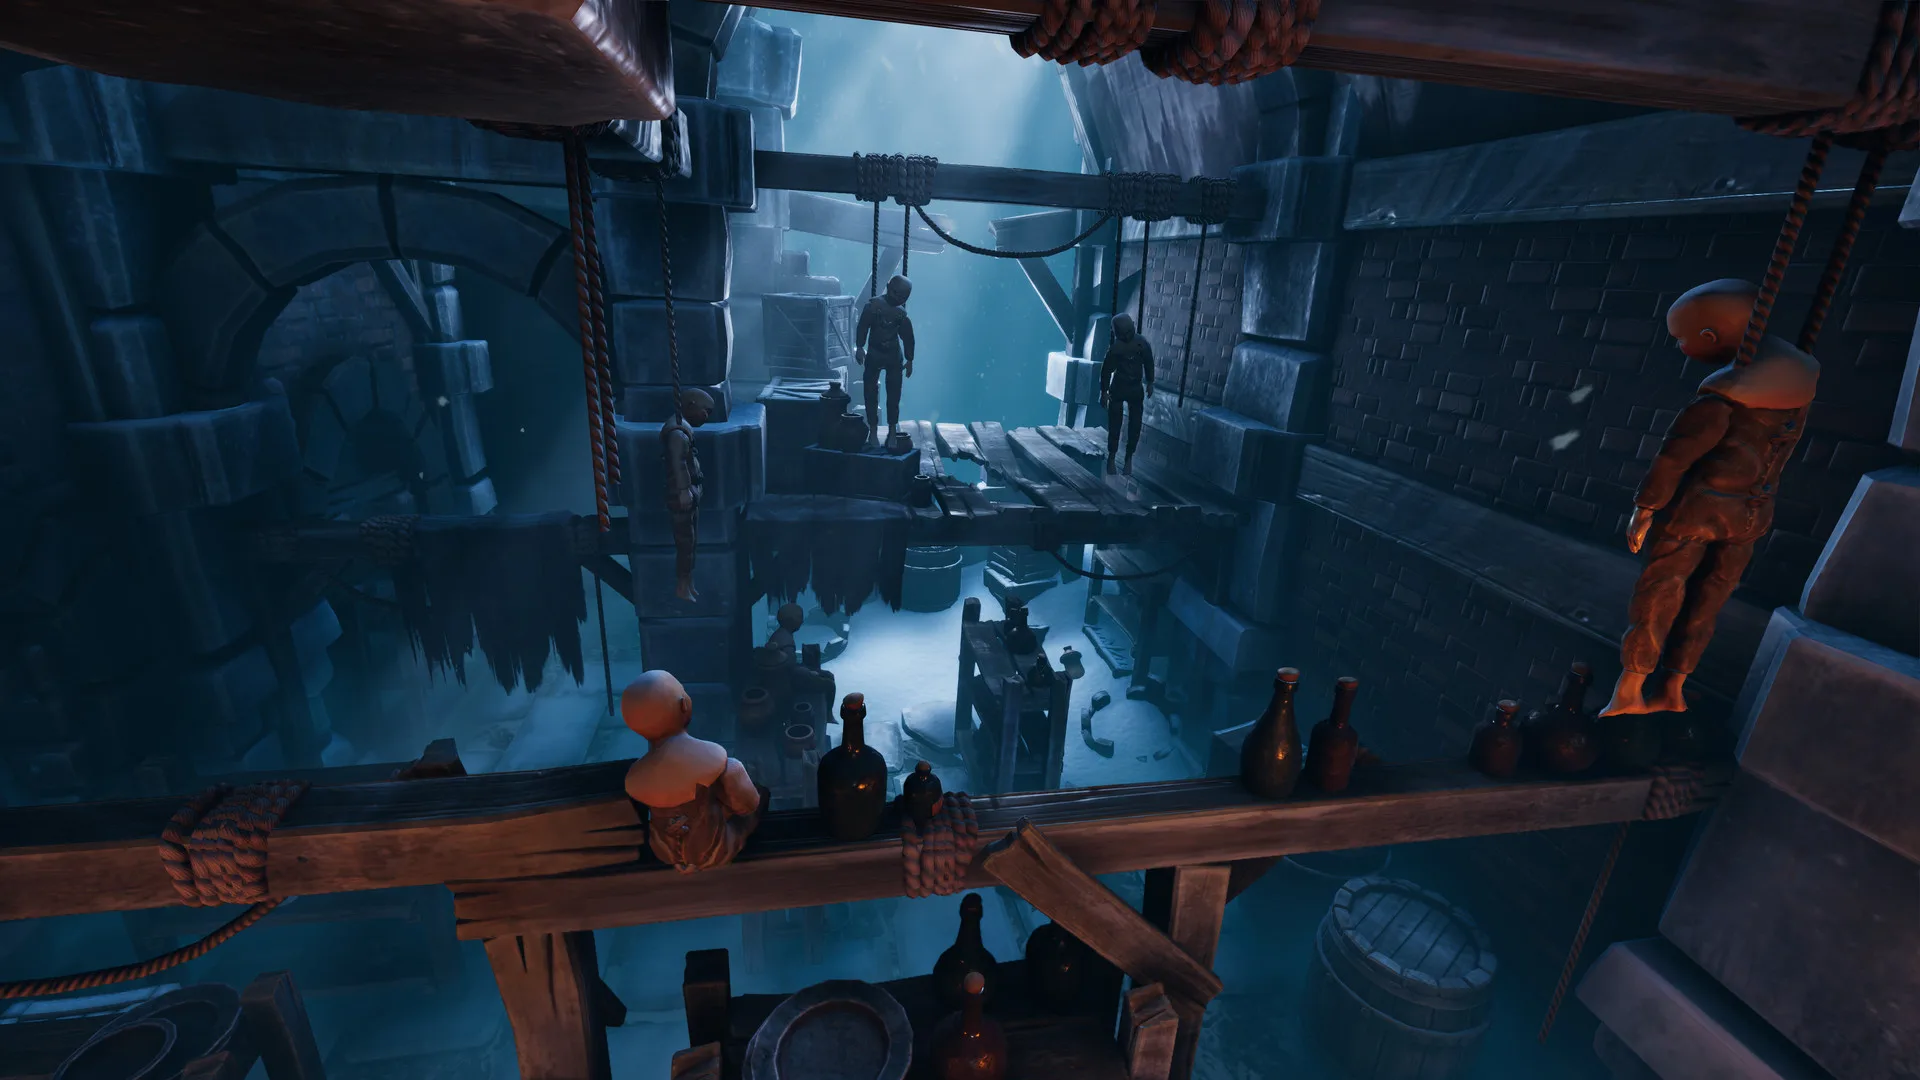
- We Were Here Forever is a two-player co-op puzzle adventure with 6 chapters and roughly 4.5–5 hours of story
- Communication is the core mechanic: each player sees only half of every puzzle via walkie-talkie
- 39 achievements require a second partial playthrough using chapter select to swap roles
- Chapter 1 is the longest (over 90 minutes); later chapters average about 30 minutes each
- The Nautilus alchemy puzzle is the hardest timed challenge — prepare to repeat it several times
Walkthrough Overview and Chapter Structure
This We Were Here Forever full walkthrough covers every chapter from the castle cells to the final choice at sea. The game splits both players into separate areas, and nearly every puzzle requires describing symbols, sounds, or layouts to your partner over the walkie-talkie.
Video Highlights:
- Full start-to-finish 100% achievement and trophy route
- Both player perspectives shown side-by-side for every puzzle
- Timed sections (boiler, trials, alchemy dome) demonstrated with working solutions
- Chapter select cleanup strategy for role-swapped achievements
| Chapter | Area | Approx. Length | Role-Split Achievements |
|---|---|---|---|
| 1 | Castle Escape | 90+ minutes | Yes (cage and trials) |
| 2 | The Chapel | 30 minutes | Yes (owl secret room) |
| 3 | Graveyard and Vault | 30–40 minutes | Yes (underground/overground) |
| 4 | Rockberry Castle | 30 minutes | Yes (counterweights) |
| 5 | The Nautilus | 40+ minutes | Yes (diving helmet, Kraken) |
| 6 | Bell Tower Finale | 15–20 minutes | Final survivor/sacrifice choice |
Invite your partner by entering their friend ID from the main menu (gamertag plus numbers). Both players should grab this achievement, but Player 2 can do it later — only one invitation is needed to begin.
First Playthrough
- Play through all 6 chapters naturally
- Note every role-split point
- Finish the story once
Cleanup Runs
- Use chapter select at split points
- Swap roles for alternate achievements
- Replay the ending for survivor and sacrifice trophies
Communication Kit
- Agree on shape vocabulary (circle, pentagon, square)
- Use compass directions (N/E/S/W)
- Keep torches raised in dark areas
Chapter 1: Escaping the Castle
Chapter 1 is the longest section of the game. It begins with both players locked in cells and teaches the walkie-talkie, jumping, crouching, and emote systems through a chain of symbol-door puzzles.
Cell Block Symbol Doors
Player 1 reads shapes through a grate; Player 2 matches them on wheels. The pattern reverses repeatedly — each player alternates between reading clues and entering symbols, collecting door wheels from torches and fires along the way.
The Chasm
Use the basket-and-lever mechanism to trade keys across the gap. Solve the pin-sorting machine (Jester, Queen's crown, potion, King's crown, Bishop) to restore power, then the dial picture puzzle and the randomized reel machine — match five cycling pictures correctly in a row.
The Timed Boiler Room
Insert film reels in order, then execute the film's sequence: turn the key, press the electric button sequence, pull the red lever, hold the steam wheel while the release handle is thrown, then flip the blue switch, pull the chain, and turn the key. Divide tasks between players — this takes practice.
Cage, Projector, and Compass Rooms
One player rides the cage down and reads shapes; the other enters numbers (2-4-4 pattern from the books) into the projector. Then align the compass rings (pentagon, inner, square, outer) using the Captain's wheel. Remember: North on Player 1's picture points left.
The Trials and Portal Mazes
Guide your partner across falling shape platforms (sequences are randomized), then navigate the color-coded portal bridge maze and the rotating picture rooms, ending with the alternate-reality room pair. Turn both keys to finish the chapter.
The cage section and the trials award different achievements to each player. For 100% completion, return via chapter select and send the other player through the cage.
Chapters 2–4: Chapel, Vault, and Castle
After the King Bartholomeus cutscene, both players walk through the snow to the chapel. These three chapters revolve around the town's four families: Glassblowers, Stonehammers, Bronzehearts, and the priesthood.
| Puzzle | Location | Solution Logic |
|---|---|---|
| Puppet heads | Chapel owl room | Match book descriptions to heads; answers are fixed every run |
| Pew seating | Chapel main hall | Same-gender benches, family symbols on cushions, elimination |
| Resistance members | Balcony gallery | One member per family, never front/back adjacent |
| Organ songs | Chapel organ | Composers changed notes slightly; play G-A-C-D onward sequence |
| Grave keys | Royal graveyard | Cross-reference family trees with grave clues (peacock, bird names, dates) |
| Number maps | Underground vault | Circles = tens, brackets = digits; dig marked snow mounds |
| Light and shadow | Rockberry Castle | Place mirrors and stained glass; Player 1 rotates each lens 180 degrees |
Puppet, pew, organ, and Kraken puzzles are identical every playthrough. The trials platforms, reel machine, vault maps, and finale lever order are randomized — rely on communication, not memorized answers.
Each of Chapters 3 and 4 also yields an astrolabe piece to carry back to the chapel machine via the town lift. Three pieces total unlock the bell tower ascent in Chapter 6.
Chapter 5: The Nautilus — Hardest Puzzles in the Game
The Nautilus opens with a minecart ride, then splits players into a diver and a surface support role.
Diving section: Only one player wears the helmet. Oxygen drains constantly — open progress doors (they stay open permanently) and surface at bubbling pipes. Player 1 redirects airflow by rotating pipes to match the icons Player 2 reports (teeth, arrows, diamonds), unlocking the way to the great globe.
Kraken conversation: The diver's partner translates using the symbol book. Responses are fixed every run:
| Kraken Says | Pupil Symbol | Sound Symbol |
|---|---|---|
| Greetings | Eye shape | Church symbol |
| Who be you? | Mustache | Triangle |
| King be hurt | Eye shape | Infinity with line |
| What explorers desire | Dash | Curvy M |
Answering the Kraken wrongly three times wrecks the ship and restarts the puzzle. The same limit applies to digging the wrong graves in Chapter 3 — your partner passes out.
The alchemy dome: With roughly eight minutes on the clock, produce three blue crystals, two red potions, and one green potion. Blue crystals (pink crystal + blue mushroom) are fastest; potions take longest, so crush acorns immediately.
| Item | Recipe | Made By |
|---|---|---|
| Blue crystal | Pink crystal + blue mushroom | Player 2 |
| Green potion | Crushed purple crystal + chopped blue mushroom + bottle | Player 1 |
| Red potion | Crushed acorn + chopped root + bottle | Player 1 |
| Bottle | Green oil + empty bowl | Either side |
| Fuels | Blue, green, red, yellow oils float in river bowls | Shared — never hoard |
Chapter 6 Finale and Achievement Cleanup
The bell tower finale has no role-split achievements, but ends with the game's defining choice.
Redirect the Beam
Winch each other up, pull levers to redirect the laser, remove blocking planks together, and re-seat the cog that pops off the central machine.
The Lightning Balcony
After the lightning strike drops Player 2, place the plank to rescue them, then pull the paired levers on the far side.
Randomized Lever Sequence
Both players get three levers tied to rotating picture orders. Call out whose lever comes next, left to right, six pulls in quick succession. Failing merely resets it.
Activate the Astrolabe
Hold both astrolabe handles while the beam charges, then pull the door switches together to trigger the ending cutscene.
The Final Choice at Sea
Swim to the platform. One player survives, one sacrifices themselves — accept your fate rather than retaliating, then chapter select back to earn the opposite ending trophy.
100% Completion Checklist:
- Invite a friend via friend ID (both players)
- Swap roles at the Chapter 1 cage and trials
- Replay the chapel owl room with roles reversed
- Alternate underground/overground in the graveyard
- Swap counterweight sides at Rockberry Castle
- Swap diver and translator roles in the Nautilus
- Earn both survivor and sacrifice ending trophies
FAQ
Q: How long does a first playthrough of We Were Here Forever take?
Expect roughly 4.5 to 5 hours on a first run. Chapter 1 alone takes over 90 minutes, while remaining chapters average about 30 minutes each. Full achievement completion adds several replayed chapters using chapter select.
Q: Can I get all 39 achievements in one playthrough?
No. Several chapters award different achievements depending on which role each player takes, such as the cage section, the chapel owl room, the graveyard split, and the diver helmet. You must replay those checkpoints with swapped roles to reach 100%.
Q: Which puzzles are randomized in We Were Here Forever?
The trials platform sequences, the chasm reel machine, the vault digging maps, and the final lever order are randomized each run. Puzzles like the puppet heads, pew seating, organ songs, and Kraken responses stay the same every time.
Q: What is the hardest puzzle in the game?
The alchemy dome at the bottom of the Nautilus, with an eight-minute timer to create three blue crystals, two red potions, and one green potion. Start crushing acorns immediately since potions brew slowest, and share river bowls with your partner.