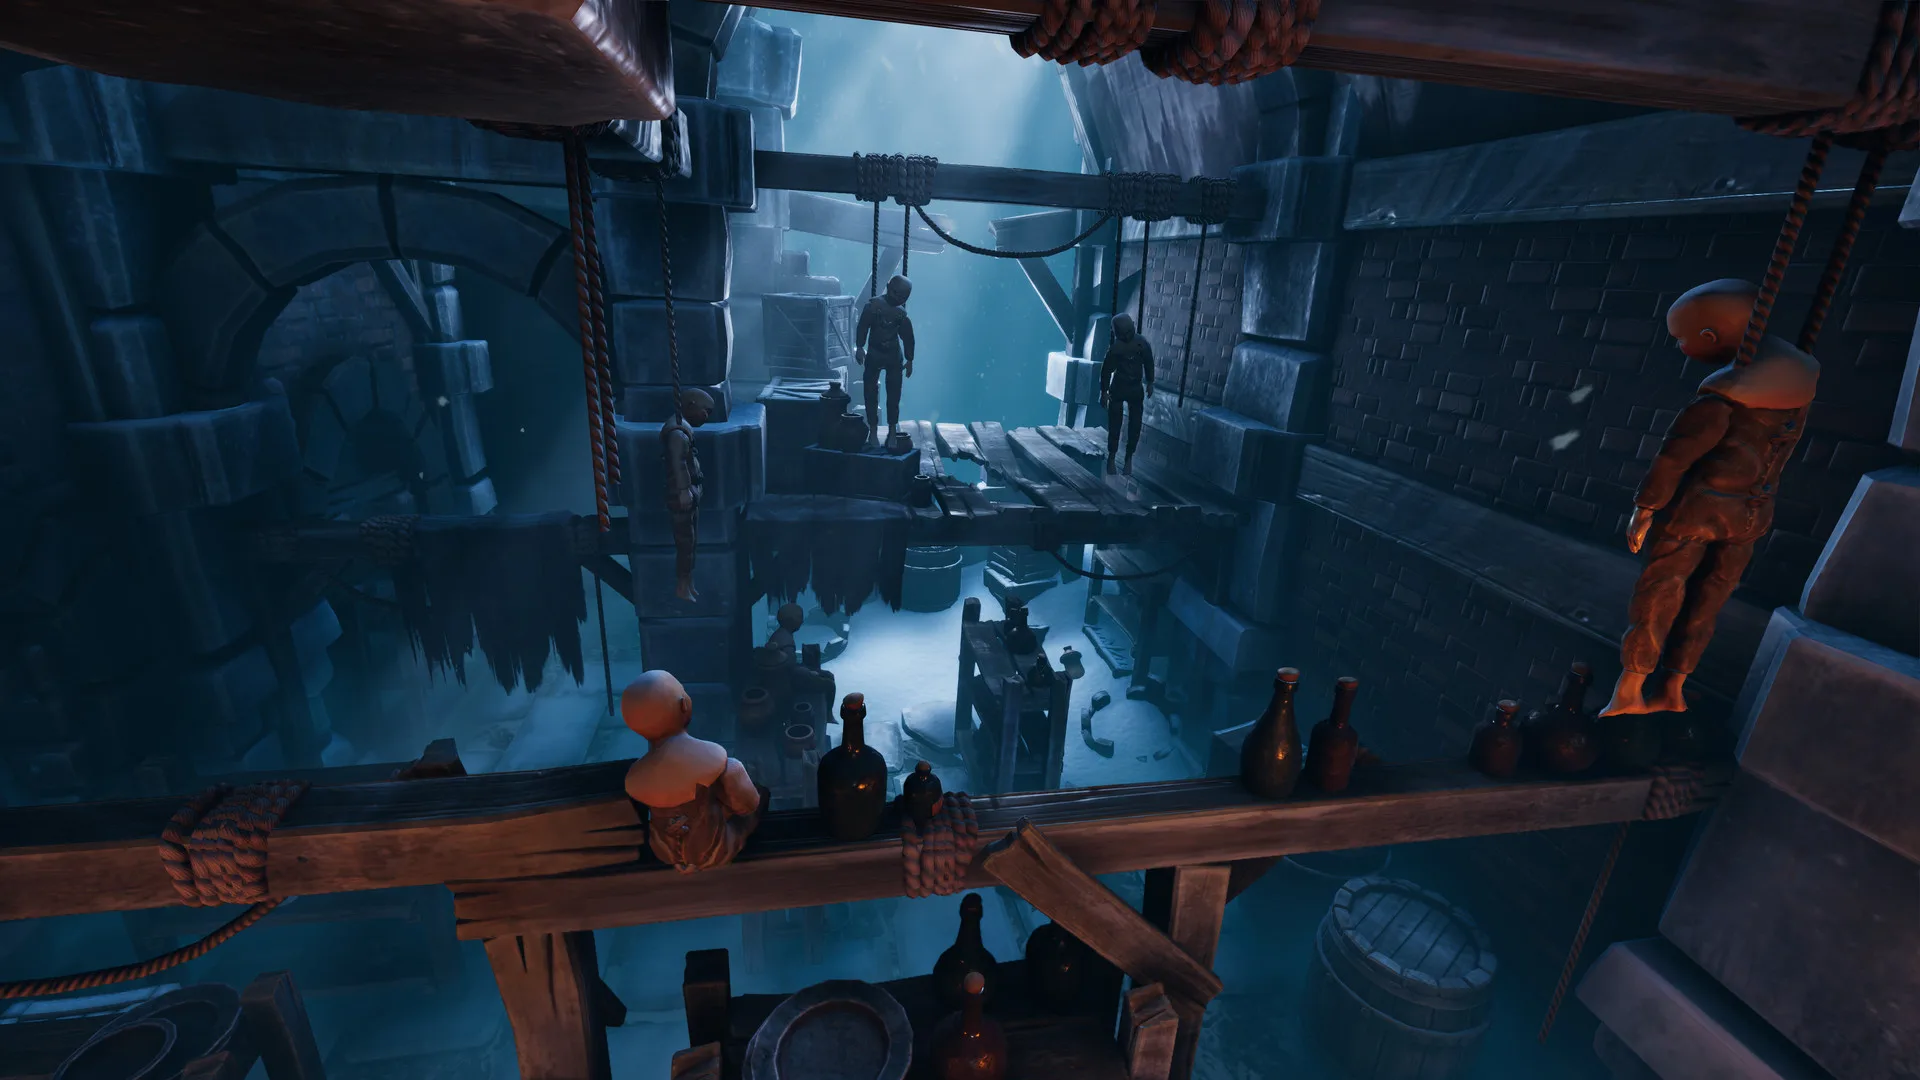
- We Were Here Forever Chapter 4 covers the mid-to-late Graveyard stage of the journey from Castle Rock.
- Core challenge: matching environmental clues one explorer sees with objects only the other can reach.
- Best strategy: establish fixed names for markers and landmarks before touching any mechanism.
- Communication rule: change one thing at a time and confirm every result with your partner.
- Achievement note: several optional objectives here are easy to miss on a first run.
Chapter 4 Overview: Entering the Graveyard
We Were Here Forever Chapter 4 marks the point where the adventure leaves the abandoned settlement of Rockbury behind and pushes into the Graveyard region surrounding Castle Rock. Progression in this game is organized by connected locations rather than traditional numbered chapters, so Chapter 4 is best understood as the mid-to-late stretch that includes the Graveyard and the transition toward the frozen underground areas.
At this stage, the two explorers are often solving related tasks from different locations, which makes accurate descriptions far more important than speed. Expect larger spaces, more environmental clues, and multi-stage puzzles that build on every communication habit you practiced in the castle and in Rockbury.
Chapter 4 assumes you are already comfortable with asymmetric information puzzles. If your partnership struggled in Rockbury, agree on a shared vocabulary for symbols, directions, and positions before entering the Graveyard — it pays off immediately.
| Region Feature | What to Expect | Difficulty |
|---|---|---|
| Environmental markers | Gravestones, structures, and inscriptions as clues | ★★★☆☆ |
| Split exploration | Players inspect different areas simultaneously | ★★★★☆ |
| Multi-stage mechanisms | Actions on one side change the other player's space | ★★★★☆ |
| Observation demands | Details are easy to overlook in low-light areas | ★★★☆☆ |
| Route complexity | Paths loop back on themselves across the region | ★★★★☆ |
Chapter 4 Puzzle Types and Communication Patterns
The Graveyard chapter introduces another major set of environmental puzzles. Players must inspect markers, structures, and surrounding details while exchanging information across separated areas. Every puzzle type below follows a distinct communication pattern — recognize the pattern early and the solution usually falls into place.
Observation Puzzles
- One player sees distinctive landmarks and inscriptions
- The other must find or select the related objects
- Describe permanent features first, vague directions last
Matching Clues
- Information seen by one explorer must match objects or locations only the other can access
- Compare clues one at a time in a fixed order
- Agree on consistent names for each marker
Spatial Reasoning
- Route planning across looping Graveyard paths
- Use fixed directional language: north side, clock-face positions
- Confirm position before every movement instruction
Avoid descriptions like "the thing near the left one." In the Graveyard, several markers look similar. Always state position first — top-left, second from the right, nearest the crypt — then describe the design.
| Puzzle Pattern | Player One Sees | Player Two Sees | Recommended Approach |
|---|---|---|---|
| Symbol matching | Arrangement of markings | Selectable matching symbols | Name each symbol, compare one by one |
| Navigation | Route or safe-path overview | The physical path to cross | One instruction at a time, confirm each step |
| Paired mechanisms | Controls altering doors or platforms | The resulting changes | Change one control, describe exactly what moved |
| Sequence puzzles | Part of an ordering clue | Controls to activate in order | Read full sequence aloud, repeat back, count together |
Step-by-Step Chapter 4 Walkthrough
Follow this progression order to move through the Graveyard and reach the entrance to the later frozen underground regions. Because each pair of explorers splits information differently, treat the steps as a coordination framework rather than a fixed script.
Survey Both Sides
Enter the Graveyard and have each explorer describe their surroundings in detail: visible markers, structures, gates, and anything interactive. Do not touch mechanisms yet.
Build a Shared Map
Establish a shared vocabulary for landmarks and agree on orientation. Name each distinct marker so later instructions can reference it without confusion.
Match Markers to Mechanisms
Compare the clues one explorer observes with the objects the other can manipulate. Work through the matching process in a fixed order and confirm each match verbally.
Cycle the Mechanisms
Activate one mechanism at a time. The observing player describes exactly what changed on their side before the next control is touched. Expect actions on one side to affect the other explorer's environment.
Open the Route Downward
Complete the final coordinated sequence to unlock the path toward the frozen depths. Confirm both players are ready and positioned before triggering the last transition.
Return to the beginning of the current puzzle and compare every visible clue again. In Chapter 4, a stall almost always means one player overlooked a marker, inscription, or environmental detail that the other explorer cannot see.
Chapter 4 Achievements and Missables
We Were Here Forever includes 39 Steam achievements, and the mid-game regions carry several tied to optional objectives and partner-dependent actions. Completion-focused pairs should treat the Graveyard carefully rather than rushing toward the next area.
| Achievement Category | Requirement Type | Missable Risk | Recommended Approach |
|---|---|---|---|
| Puzzle completion | Finish key cooperative sequences | Low to Medium | Do not leave an area until both players complete their interactions |
| Optional objectives | Actions not required for progression | Medium | Explore thoroughly and interact with unusual objects |
| Partner-dependent | Coordinated action between both explorers | Medium | Communicate the plan before triggering mechanisms |
| Exploration | Hidden areas and side interactions | Medium | Check side paths before the main route onward |
Chapter 4 Completion Checklist:
- Complete every Graveyard cooperative puzzle sequence
- Interact with optional objects before leaving the region
- Coordinate partner-dependent actions before major transitions
- Explore side paths and hidden corners of the Graveyard
- Confirm both players finish interactions before moving on
Missed objectives can be recovered with a second cooperative run. Keep notes on which optional interactions you skipped so the cleanup playthrough targets only what is missing.
FAQ
Q: What is We Were Here Forever Chapter 4?
Chapter 4 corresponds to the mid-to-late Graveyard region, entered after the Rockbury challenges. It focuses on observation, matching environmental clues, and spatial reasoning across separated areas before the descent into the frozen underground sections.
Q: Why are we stuck on a Graveyard puzzle?
Most stalls come from one explorer overlooking a marker or inscription the other player cannot see. Retrace the puzzle from the start, compare every visible clue again, and confirm you have consistent names for each landmark.
Q: Can we skip optional objectives in Chapter 4?
Yes, basic progression does not require every optional interaction. However, several achievements tied to optional and partner-dependent actions are missable, so completion-focused pairs should explore thoroughly before moving to the next region.
Q: Is Chapter 4 harder than Rockbury?
The Graveyard places heavier demands on observation and spatial reasoning because spaces are larger and the players are often solving related tasks from different locations. Pairs with strong communication habits usually find it a step up rather than a wall.