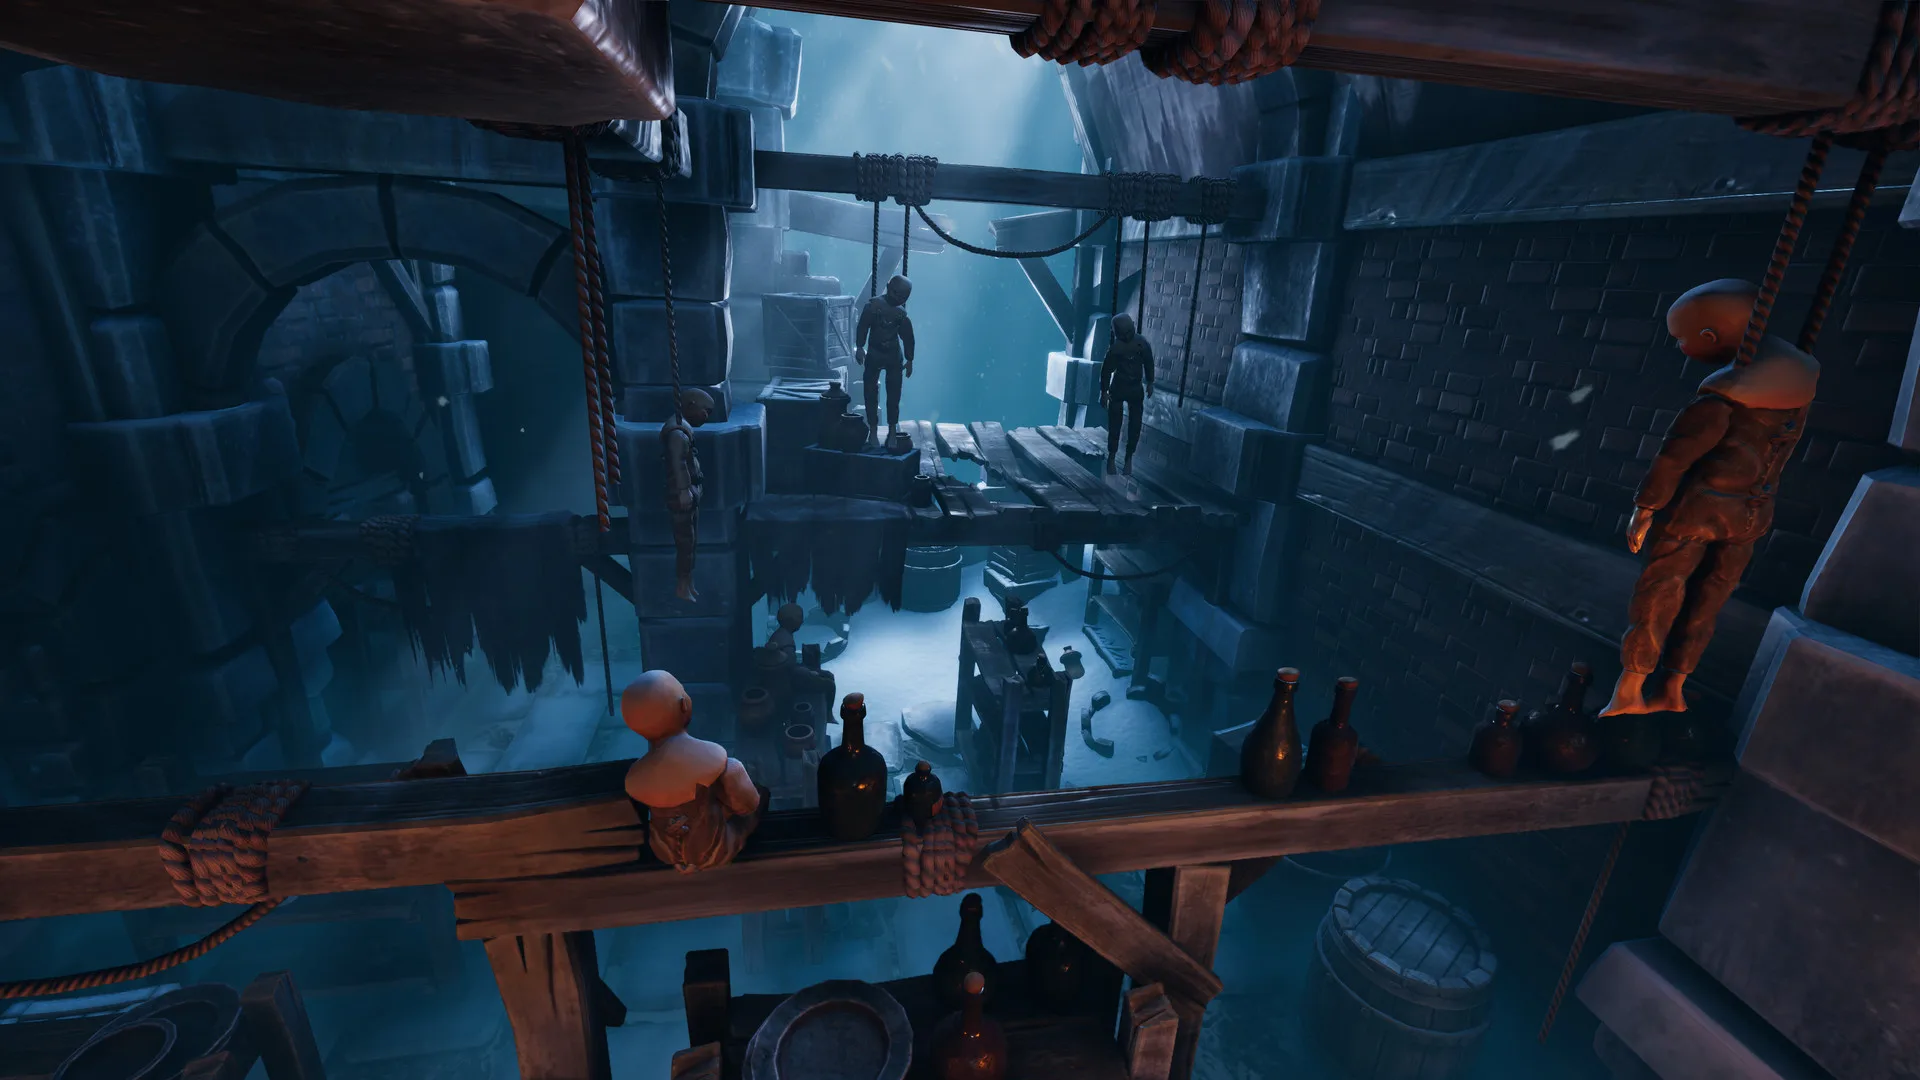
- We Were Here Forever chapter 5 covers the Graveyard stage and the transition into the frozen underground.
- Core mechanic: both players receive asymmetric clues and must describe everything by voice.
- Biggest hurdle: matching distant markers and structures with objects your partner can reach.
- Key strategy: name every symbol consistently and change one mechanism at a time.
- Reward: clearing this stage unlocks the late-game frozen depths and the final escape arc.
Chapter 5 Overview: Where You Are in the Journey
We Were Here Forever does not display numbered chapter titles on screen, so players commonly refer to progression stages by location. In community terms, We Were Here Forever chapter 5 corresponds to the Graveyard section and the routes that lead out of it toward the frozen underground. By this point you and your partner have already escaped Castle Rock, worked through the abandoned settlement of Rockbury, and practiced every core communication habit the series is known for.
The Graveyard raises the difficulty in a specific way: distances between the two explorers grow larger, and many clues are painted, carved, or placed on markers that only one player can inspect. Progress depends less on quick reactions and more on patient, precise description.
| Progression Point | Location | Approximate Stage | Main Challenge |
|---|---|---|---|
| Opening | Castle Rock prison | Chapters 1-2 | Basic symbol exchange, separated rooms |
| Early game | Castle escape route | Chapter 2-3 | Shared mechanisms, timing |
| Mid game | Rockbury | Chapters 3-4 | Exploration, multi-stage puzzles |
| Mid-late game | Graveyard | Chapter 5 | Distant marker matching, spatial reasoning |
| Late game | Frozen depths | Chapter 6+ | Long mechanical chains |
| Finale | Final escape | Last chapter | Coordinated timed actions |
Agree with your partner on a shared vocabulary before entering the Graveyard. Decide now whether you will use clock positions, compass directions, or left/right relative descriptions, and stick to it for the entire chapter.
Graveyard Puzzle Patterns and How to Solve Them
Every puzzle in chapter 5 follows a pattern the series uses throughout: one player holds information, the other holds access. Recognizing which pattern you are facing is half the solution.
| Puzzle Type | What One Player Sees | What the Other Sees | Solution Approach |
|---|---|---|---|
| Marker matching | Symbols or inscriptions on distant markers | Selectable objects or inputs elsewhere | Describe shape and position, compare one at a time |
| Navigation | Safe route or map overview | The physical path to walk | One instruction at a time, confirm position |
| Paired mechanisms | Levers or valves that alter the area | The result and required configuration | Change one control, report what moved |
| Sequence puzzles | Partial ordering clue | Inputs that must follow the order | Read the full sequence aloud, repeat back, act together |
| Observation | Landmarks and structural details | Related objects to manipulate | Describe permanent features first, orientation second |
Marker Matching
- Highest frequency in chapter 5
- Requires consistent symbol names
- Positions matter as much as shapes
Paired Mechanisms
- One lever, one observer
- Track every state change
- Never flip two controls at once
Observation Chains
- Distant structures hold clues
- Your partner holds the inputs
- Describe landmarks before details
The most frequent failure in the Graveyard is vague positioning language. "The cross near the fence" means nothing if your partner sees three crosses and two fences. Always lead with position, such as top-left, second from the right, or nearest the gate, then describe appearance.
Step-by-Step Chapter 5 Walkthrough
Follow this sequence to move through the Graveyard efficiently. Exact puzzle layouts vary by section, but the order of operations below matches how the chapter unfolds.
Survey Both Sides First
Before touching anything, each player describes their full surroundings: visible markers, doors, mechanisms, and anything interactive. Skipping this step causes most long stalls in chapter 5.
Match the Graveyard Markers
One explorer inspects inscriptions and symbols across the markers while the other locates the corresponding inputs. Name every symbol, confirm each match verbally, and record the confirmed set before moving on.
Work the Paired Mechanisms
Identify which controls on one side affect doors or platforms on the other. Change a single mechanism, let your partner report the exact result, and build a mental map of cause and effect.
Open the Descent Route
Completing the marker and mechanism chains opens the path downward. Both players usually need to trigger their sides in a coordinated order, so agree on a countdown before acting.
Prepare for the Frozen Depths
Before descending, finish any optional interactions in the Graveyard. Some optional objectives are tied to this area, and returning later means repeating earlier sections.
After every solved chain, briefly state out loud what is now open and what remains locked. This thirty-second recap prevents the most frustrating chapter 5 problem: solving a puzzle and forgetting which route it unlocked.
Communication Tips That Prevent Stalls
Chapter 5 is where weak communication habits become hard blockers. Use these techniques to keep momentum.
| Technique | How to Apply It | Why It Works |
|---|---|---|
| Fixed naming | Call a symbol the same name every time | Prevents confusion across long puzzle chains |
| Position first | State location before appearance | Speeds up identification of similar objects |
| Single changes | Activate one control, then report | Keeps puzzle state trackable |
| Read back | Repeat instructions before acting | Catches misheard directions instantly |
| Countdowns | Agree on a count before timed actions | Synchronizes both players precisely |
Because the walkie-talkie style communication is a core mechanic, test your microphones before the session. If audio drops mid-puzzle, pause rather than guess, since a wrong mechanism state can add significant backtracking.
Chapter 5 Completion Checklist:
- Survey both players' surroundings before every puzzle
- Confirm all marker and symbol matches verbally
- Map every paired mechanism before combining actions
- Complete optional Graveyard interactions before descending
- Recap unlocked routes after each solved chain
FAQ
Q: What is We Were Here Forever chapter 5?
Chapter 5 generally refers to the Graveyard stage, where players investigate markers, structures, and environmental clues across separated areas before unlocking the descent into the frozen underground.
Q: Can chapter 5 be solved solo?
No. We Were Here Forever is designed strictly for two players, and chapter 5 puzzles deliberately split clues and controls between both explorers, so a partner is required.
Q: Why are we stuck on the Graveyard markers?
Most stalls come from inconsistent symbol names or vague positions. Restart the description process: name each marker's position, then its symbol, and confirm matches one at a time.
Q: Do I need to finish chapter 5 in one session?
No, but progress is easier to maintain in one sitting because chapter 5 puzzles build on remembered states. If you split the session, write down confirmed matches and mechanism effects.