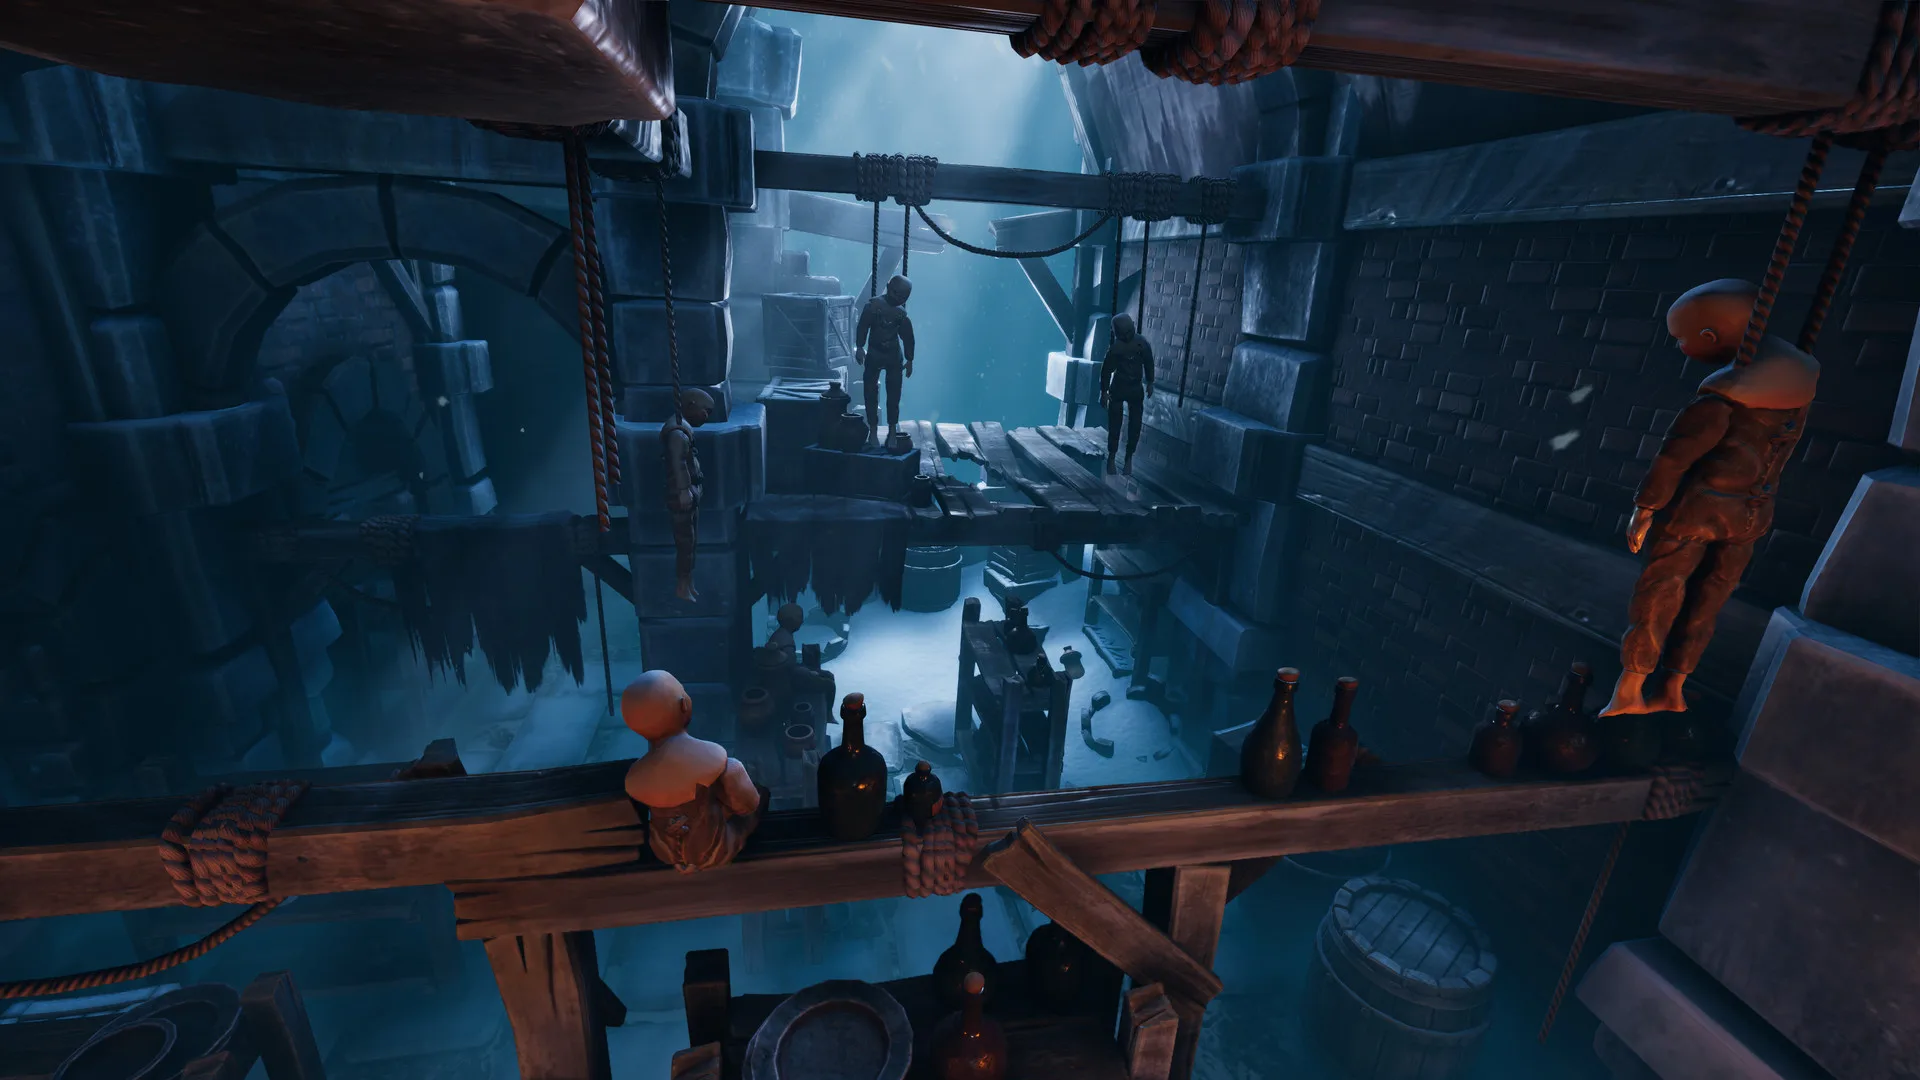
- We Were Here Forever chapel puzzle takes place in the Rockbury chapel and crypt, splitting clues between two explorers.
- Core mechanic: One player reads symbols and bell or organ clues while the other performs the corresponding actions.
- Best strategy: Agree on consistent names for every symbol before touching any mechanism.
- Critical tip: Change only one control at a time and confirm what changed before continuing.
- Common blocker: Misread positions on organ keys and bell notes cause most failed attempts.
Chapel Puzzle Overview
The chapel is one of the standout cooperative challenges you encounter after leaving Castle Rock and pushing into the abandoned settlement of Rockbury. Like every major puzzle in We Were Here Forever, it is built on asymmetric information: one explorer stands where the clues are visible, while the other stands where the solution must be entered. Neither of you can solve it alone, and the walkie-talkie is your only bridge.
The chapel sequence combines several of the game's signature puzzle types into one longer challenge. You will deal with symbol matching, paired mechanisms, and a musical element involving the chapel's organ and bells. Progress depends less on reflexes and more on how precisely you and your partner describe what you see.
| Puzzle Element | Role Type | What It Demands |
|---|---|---|
| Chapel interior symbols | Observation | Describing shapes, positions, and orientation clearly |
| Organ / bell mechanism | Paired mechanism | Translating described clues into correct inputs |
| Crypt and lower chapel | Environmental clues | Matching markers with objects elsewhere |
| Multi-step sequence | Coordination | Confirming each step before moving to the next |
Walk through your entire area and describe everything interactive to your partner before attempting any part of the chapel puzzle. Many teams fail simply because the observing player never noticed a clue hidden in their own room.
Chapel Puzzle Step-by-Step
Follow this sequence to move through the chapel without backtracking. Each step assumes both players have described their surroundings first.
Explore and Report
Both players explore their sides of the chapel area. Call out every symbol, marker, stained-glass detail, and mechanism you find, including anything that looks like it could rotate, press, or play a note.
Name Every Symbol
Agree on short, memorable names for each symbol or musical marking. Keep those names fixed for the entire puzzle, so "crown" always means crown and never becomes "the pointy one."
Connect Clues to the Mechanism
The observing player reads out the clue set in a fixed order, usually top to bottom or left to right. The acting player repeats each entry back before touching anything.
Input One Entry at a Time
Activate the organ or mechanism one entry at a time. After each input, the observer confirms whether anything in their environment changed before you continue.
Handle the Crypt Layer
Once the upper chapel section is resolved, the puzzle extends into the lower chapel or crypt. Re-scan the new area, because fresh clues typically appear only after the first stage is complete.
Confirm the Final Sequence
Read the complete final sequence aloud, repeat it back, then execute it together while counting out loud. Rushing the last input is the most common way teams reset their progress.
Never let both players adjust mechanisms at the same time. When two controls change at once, you lose track of which action caused which result, and the puzzle state becomes much harder to reconstruct.
Communication Roles Explained
Every chapel-style puzzle in We Were Here Forever assigns you one of two broad roles. Understanding your role prevents the classic mistake of both players talking at once.
The Observer
- Holds the clues: symbols, notes, or markings
- Describes position before appearance
- Reads sequences in a fixed, agreed order
- Confirms every change after each input
The Operator
- Holds the controls: organ keys, bells, or mechanisms
- Repeats instructions back before acting
- Changes one thing at a time
- Reports exactly what happened after each action
| Communication Habit | Effect on Success | Difficulty Without It |
|---|---|---|
| Fixed symbol names | Prevents mid-puzzle confusion | ★★★★☆ |
| Position first ("top-left, second from right") | Speeds up identification | ★★★★☆ |
| One action at a time | Preserves puzzle state tracking | ★★★★★ |
| Read-back confirmation | Catches misheard instructions | ★★★★☆ |
| Shared countdown for timed steps | Synchronizes paired actions | ★★★☆☆ |
Use a consistent pattern: "Position, then shape, then action." For example: "Third from the left, the crown symbol, press it once." This single habit resolves most chapel-related communication errors.
Common Mistakes and Fixes
Most failed chapel attempts come from a small set of repeating errors. Check this table before you blame the puzzle.
| Symptom | Likely Cause | Quick Fix |
|---|---|---|
| Correct symbols but nothing happens | Wrong order of inputs | Re-read the full sequence aloud and restart it from the beginning |
| Partner describes "the swirly thing" repeatedly | No fixed symbol vocabulary | Stop and assign names to every symbol before continuing |
| Mechanism state seems random | Both players changed controls at once | Reset the stage if possible, then only the operator touches controls |
| Organ or bell notes feel ambiguous | Notes described by feel rather than position | Describe keys by position and count, not by sound impressions |
| Clue seems missing after stage one | New area or clue not yet scanned | Re-explore both sides; later clues often unlock after the first phase |
Return to the start of the chapel section and compare every visible clue again. In nearly every case, a stalled puzzle means one player has overlooked an object, symbol, or environmental detail in their own area, not that the solution is wrong.
Chapel Puzzle Checklist:
- Both players fully explored and described their areas
- Every symbol has a fixed agreed name
- Full sequence read aloud and repeated back before input
- Only the operator touches mechanisms, one input at a time
- Observer confirmed a change after each action
- New crypt-level clues re-scanned after the first stage
FAQ
Q: How long does the We Were Here Forever chapel puzzle take?
With clear communication, most pairs finish the chapel sequence in roughly 20 to 40 minutes. Teams that skip the symbol-naming step often spend significantly longer untangling mixed-up instructions.
Q: Can the chapel puzzle be solved by a single player?
No. Like the rest of We Were Here Forever, the chapel is designed around two players receiving different information. One explorer holds the clues while the other operates the mechanism, so a partner is required.
Q: Where does the chapel puzzle fit in the overall progression?
The chapel appears in the Rockbury region, the mid-game abandoned settlement you reach after escaping the Castle Rock prison sections. It sits between the early castle escape puzzles and the later Graveyard and frozen underground areas.
Q: What if we entered the correct sequence but the puzzle did not respond?
Confirm the order first, since many chapel-style mechanisms require exact sequencing rather than just the right set of inputs. If the order is correct, re-check for missed clues in the crypt or lower chapel that may gate the final step.
What Comes After the Chapel
Once the chapel and its crypt layer are resolved, the route continues deeper into Rockbury and eventually toward the Graveyard and the frozen depths beneath the region. The communication habits you build here, fixed symbol names, one-action-at-a-time testing, and read-back confirmation, carry directly into every later puzzle in the adventure.
| Upcoming Region | Progression Stage | Puzzle Focus |
|---|---|---|
| Remaining Rockbury challenges | Mid game | Exploration, multi-stage mechanisms |
| Graveyard | Mid to late game | Observation, matching markers, spatial reasoning |
| Frozen depths | Late game | Mechanical systems, sequential coordination |
| Final escape | Finale | Precise timing and coordinated actions |
Treat the chapel as the place where your team's communication system is forged. Pairs who leave the chapel with a solid naming and confirmation routine consistently move through the Graveyard and late-game areas faster.