We Were Here Forever Puzzles
Step-by-step solutions for every We Were Here Forever puzzle: graveyard, pipe, nautilus, octopus, chapel, music, mirror, and jester.
What are We Were Here Forever Puzzles?
We Were Here Forever is built on asymmetric escape-room puzzles: each player holds half the information. These solutions cover the graveyard, pipe, nautilus, octopus, chapel, music, mirror, and jester puzzles with the exact clues each side sees.
Why use puzzle solutions?
See Both Sides
Each solution shows what the explorer sees and what the guide sees, so both players understand the full picture.
Save Session Time
A single stuck puzzle can eat an entire co-op night. A targeted hint gets you back to moving forward.
Learn the Pattern
Castle Rock puzzles reuse clue styles like symbols, sound cues, and dials. Solving one teaches you how to read the next.
Featured & Essential
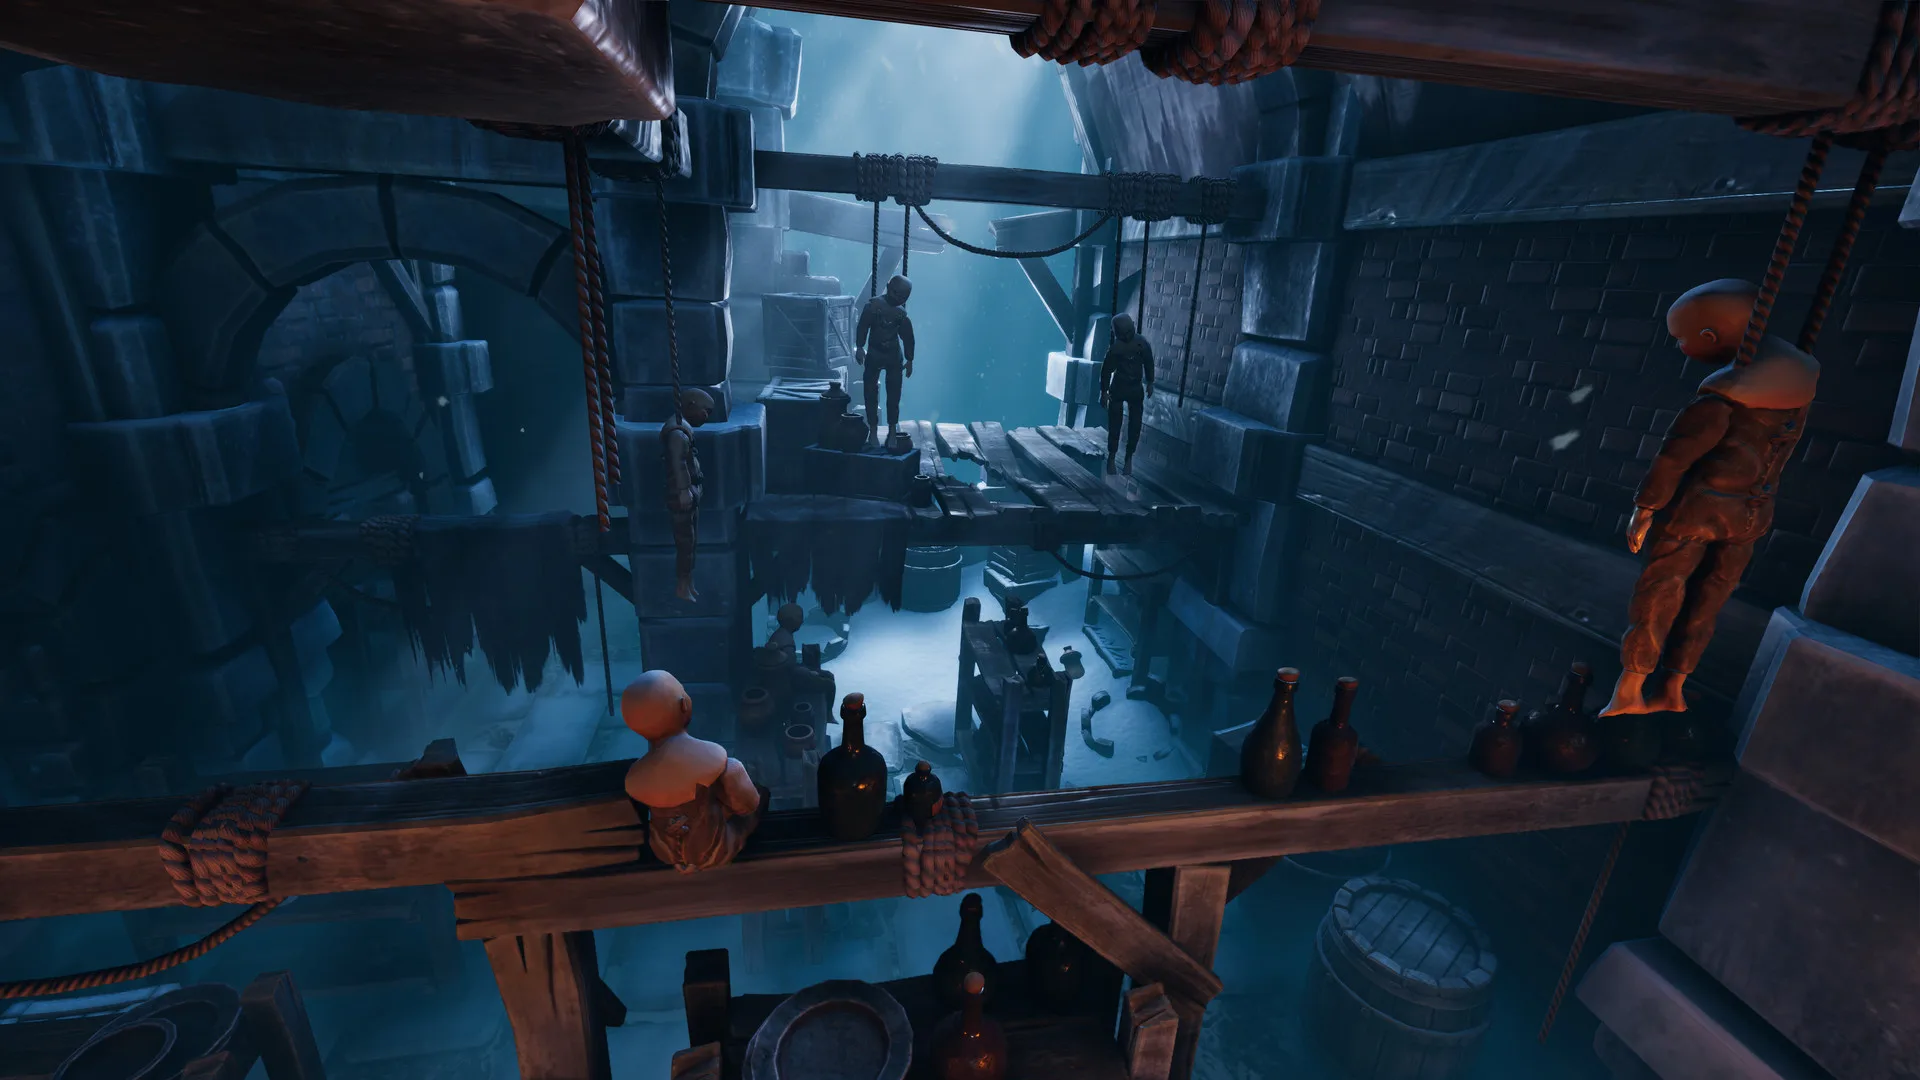
We Were Here Forever Mirror Puzzle: Step-by-Step Solution
Solve the We Were Here Forever mirror puzzle with this step-by-step co-op guide covering reflections, symbol reading, and clear communication tips.
We Were Here Forever Music Puzzle: Step-by-Step Solution
Solve the We Were Here Forever music puzzle with our step-by-step guide covering the chapel organ challenge, note communication tips, and co-op coordination.
All Puzzles
We Were Here Forever Arena Puzzle: Step-by-Step Solution Guide
Solve the We Were Here Forever arena puzzle with this co-op walkthrough covering roles, timed actions, communication tips, and common mistakes.
We Were Here Forever Dial Puzzle: Full Solution Guide
Solve the We Were Here Forever dial puzzle with this step-by-step co-op guide, covering symbol reading, radio frequencies, and communication tips.
We Were Here Forever Slot Machine Puzzle: Step-by-Step Solution
Solve the We Were Here Forever slot machine puzzle in Rockbury with this co-op walkthrough covering symbol communication, lever order, and rewards.
We Were Here Forever Vault Puzzle: Step-by-Step Solution
Solve the We Were Here Forever vault puzzle with this co-op guide covering the dial lock, symbol clues, and clear communication steps.
We Were Here Forever Family Tree Puzzle: Walkthrough & Tips
Solve the We Were Here Forever family tree puzzle in Rockbury with this step-by-step guide covering portraits, name clues, and communication tips.
We Were Here Forever Forge Puzzle: Step-by-Step Solution
Solve the We Were Here Forever forge puzzle with this co-op guide covering roles, symbol communication, mechanism order, and common mistakes.
We Were Here Forever Chapel Puzzle: Step-by-Step Solution
Solve the We Were Here Forever chapel puzzle in Rockbury with this co-op guide covering the organ, bells, crypt clues, and communication tips.
We Were Here Forever Graveyard Puzzle: Step-by-Step Walkthrough
Solve the We Were Here Forever graveyard puzzle with this co-op walkthrough covering gravestone clues, symbol matching, and communication tips.
We Were Here Forever Jester Puzzle: Step-by-Step Solutions
Solve the Jester puzzles in We Were Here Forever with this co-op walkthrough covering jester bells, symbol matching, and communication tips.
We Were Here Forever Mannequin Puzzle: Walkthrough & Tips
Solve the We Were Here Forever mannequin puzzle in Rockbury with this step-by-step walkthrough covering clue reading, outfit matching, and communication tips.
We Were Here Forever Nautilus Puzzle: Solution Walkthrough
Solve the We Were Here Forever Nautilus puzzle with this co-op walkthrough covering symbols, communication roles, and step-by-step coordination tips.
We Were Here Forever Octopus Puzzle: Walkthrough & Tips
Solve the We Were Here Forever octopus puzzle step by step: room layout, tentacle positions, communication tips, and the correct final sequence.
We Were Here Forever Pipe Puzzle: Solution Walkthrough
Solve the We Were Here Forever pipe puzzle with this step-by-step walkthrough covering valve roles, communication tips, and common mistakes.
We Were Here Forever Underwater Puzzle: Step-by-Step Solutions
Solve the We Were Here Forever underwater puzzle sections with this step-by-step co-op guide covering the frozen depths, coordination tips, and solutions.