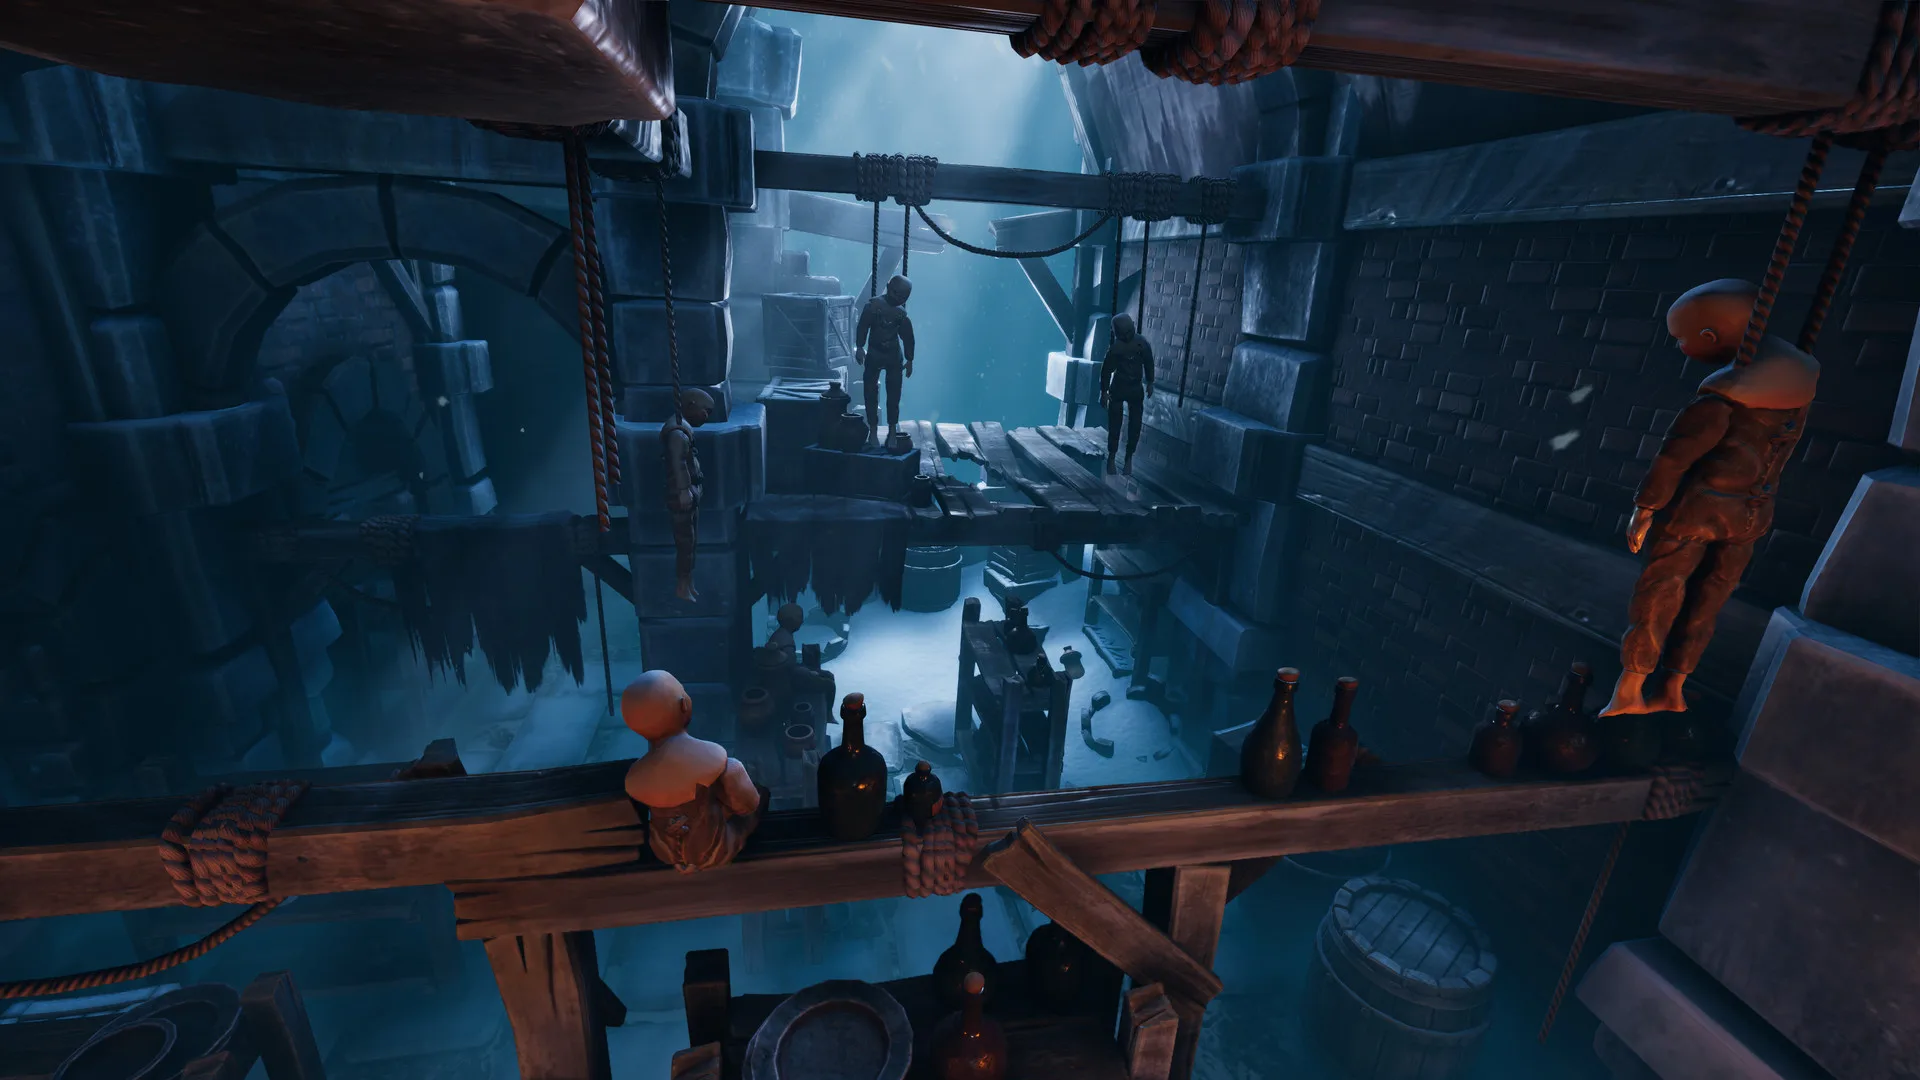
- We Were Here Forever Nautilus puzzle appears in the later underwater sections beneath the frozen depths
- Each explorer sees only half the clues, so walkie-talkie communication is mandatory
- Give every dial and symbol a fixed name before touching anything
- Change one control at a time and confirm what your partner observes
- Slow, described turns beat fast guessing every time in this puzzle
Where the Nautilus Puzzle Fits in the Journey
The Nautilus puzzle is one of the standout cooperative challenges in the later stages of We Were Here Forever, encountered as the two explorers descend beneath the icy surface into the frozen underground areas. By this point in the adventure, you have already escaped Castle Rock, passed through Rockbury and the Graveyard, and learned how the game splits information between two players. The Nautilus section raises the difficulty by combining navigation, symbol matching, and paired mechanisms into a longer chain of coordinated actions.
The puzzle area is themed around a giant nautilus shell structure and the machinery surrounding it, with each explorer positioned in a different part of the environment. One player typically interacts with rotating dials or shell-like mechanisms, while the other reads markings, symbols, or positional clues that determine the correct configuration. Neither side can complete the puzzle alone.
| Puzzle Element | Player One Access | Player Two Access |
|---|---|---|
| Nautilus shell mechanism | Operates dials and rotation | Sees the result or required pattern |
| Symbol markings | Partial view of clues | Matching symbols elsewhere |
| Rotating sections | Controls direction of rotation | Observes which segment aligns |
| Progress confirmation | Must confirm each change verbally | Reports what changed on their side |
Do not begin turning anything until both players have fully described their surroundings. Skipping the description phase is the most common reason duos get stuck for long stretches in the Nautilus area.
How the Communication Split Works
Like every major puzzle in We Were Here Forever, the Nautilus challenge is built on asymmetric information. The game deliberately gives each explorer a different view of the same system, and progress depends entirely on how clearly you translate your half into words your partner can act on.
The core loop follows a familiar pattern from earlier chapters, but the Nautilus puzzle strings several of these loops together in sequence. Losing track of which stage you are on is the biggest failure mode here.
Describe First
- Both players inventory their visible symbols and controls
- Agree on names before acting
- Note anything that looks interactive
Rotate and Report
- One player adjusts the mechanism
- Partner reports exactly what changed
- Keep changes to a single input
Confirm and Advance
- Verify alignment matches the clues
- Repeat back the final configuration
- Move to the next stage together
Use consistent, memorable names for every symbol and dial position, such as spiral-in, spiral-out, crown, eye, and hook. Renaming a symbol mid-puzzle is the fastest way to create confusion and undo correct progress.
Step-by-Step Nautilus Puzzle Solution
The following sequence reflects the general flow of the Nautilus section. Because the game separates the two explorers, treat each step as a shared task where one player acts and the other verifies.
Map Out Both Sides
Each player explores their portion of the area and describes all visible symbols, dials, markings, and mechanisms over the walkie-talkie. Establish names for every element and confirm both players understand them.
Identify the Clue Side
Determine which player holds the reference information, such as symbol arrangements or markings, and which player operates the rotating nautilus mechanism. The clue holder reads out the full pattern before any controls are touched.
Rotate One Segment at a Time
The operator adjusts a single dial or rotation and stops. The observing player describes exactly what changed on their side, including any new symbols revealed or alignments formed.
Match Against the Clues
Compare the current configuration with the reference pattern. If it does not match, continue single adjustments while tracking the state of each segment. If it matches, confirm aloud together before locking it in.
Complete the Chain
Later stages of the puzzle require repeating this cycle across additional mechanisms. Re-verify earlier configurations if something resets, and finish the remaining stages in the same deliberate manner to open the route forward.
If a rotation produces no visible change for your partner, stop and re-describe the mechanism. A missed element, such as a hidden marking or secondary dial, is usually the reason a stage refuses to resolve.
Common Mistakes and Fixes
Long puzzles in the frozen depths punish rushed communication. The table below covers the errors duos hit most often in the Nautilus area and how to recover from them.
| Mistake | Symptom | Fix |
|---|---|---|
| Turning multiple dials at once | Partner loses track of the state | Reset, then change one control at a time |
| Vague symbol names | Wrong segments aligned | Re-name every symbol and repeat the pattern |
| Skipping the description phase | No clue what to match | Fully describe both sides before acting |
| Misreading rotation direction | Alignment moves away from target | Confirm clockwise or counterclockwise each turn |
| Forgetting confirmed stages | Earlier progress resets silently | Verbalize each completed stage before moving on |
Some paired mechanisms in the later areas reset earlier progress when misused. If your partner notices a previously solved element has changed, return to the last confirmed stage instead of forcing new inputs.
Communication Best Practices for Underwater Puzzles
The Nautilus puzzle rewards the same habits that carry you through the rest of Castle Rock and its surroundings. Refining them here prepares you for the final escape sequence, where coordination demands are even higher.
- Position before appearance: Say where a symbol is located before describing what it looks like.
- Short instructions: Deliver one action per sentence and wait for confirmation.
- Read the full sequence first: Before activating anything, read the entire pattern aloud and have your partner repeat it back.
- Fixed directional language: Use terms like clockwise, counterclockwise, leftmost, and second from the top consistently.
- Countdowns for paired actions: Agree on ready, activate, stop, and reset signals before any timed interaction.
Nautilus Puzzle Readiness:
- Both players described all visible symbols and controls
- Every symbol has an agreed fixed name
- Clue side has read the full pattern aloud
- One-control-at-a-time rule confirmed by both players
- Completed stages verbally confirmed before advancing
Duos that move slowly and confirm every change typically finish the Nautilus section faster than duos that rush, because they avoid the long backtracking sessions caused by lost puzzle state.
FAQ
Q: Where is the Nautilus puzzle located in We Were Here Forever?
It appears in the later underground sections beneath the frozen surface, after the explorers have progressed beyond Castle Rock, Rockbury, and the Graveyard. The area centers on a large nautilus shell structure surrounded by cooperative mechanisms.
Q: Can the Nautilus puzzle be solved by one player?
No. Like the rest of We Were Here Forever, the puzzle splits clues and controls between the two explorers, so it can only be completed through voice communication and coordinated actions.
Q: What should I do if the mechanism seems to reset?
Return to the last stage both players verbally confirmed and re-verify the configuration from there. Resets usually happen when a paired mechanism is triggered incorrectly, so resume changing only one control at a time.
Q: How do we avoid confusion with unfamiliar symbols?
Give every symbol a simple, memorable name before starting, keep using the same name throughout the puzzle, and state a symbol's position before its appearance when several similar symbols are visible.