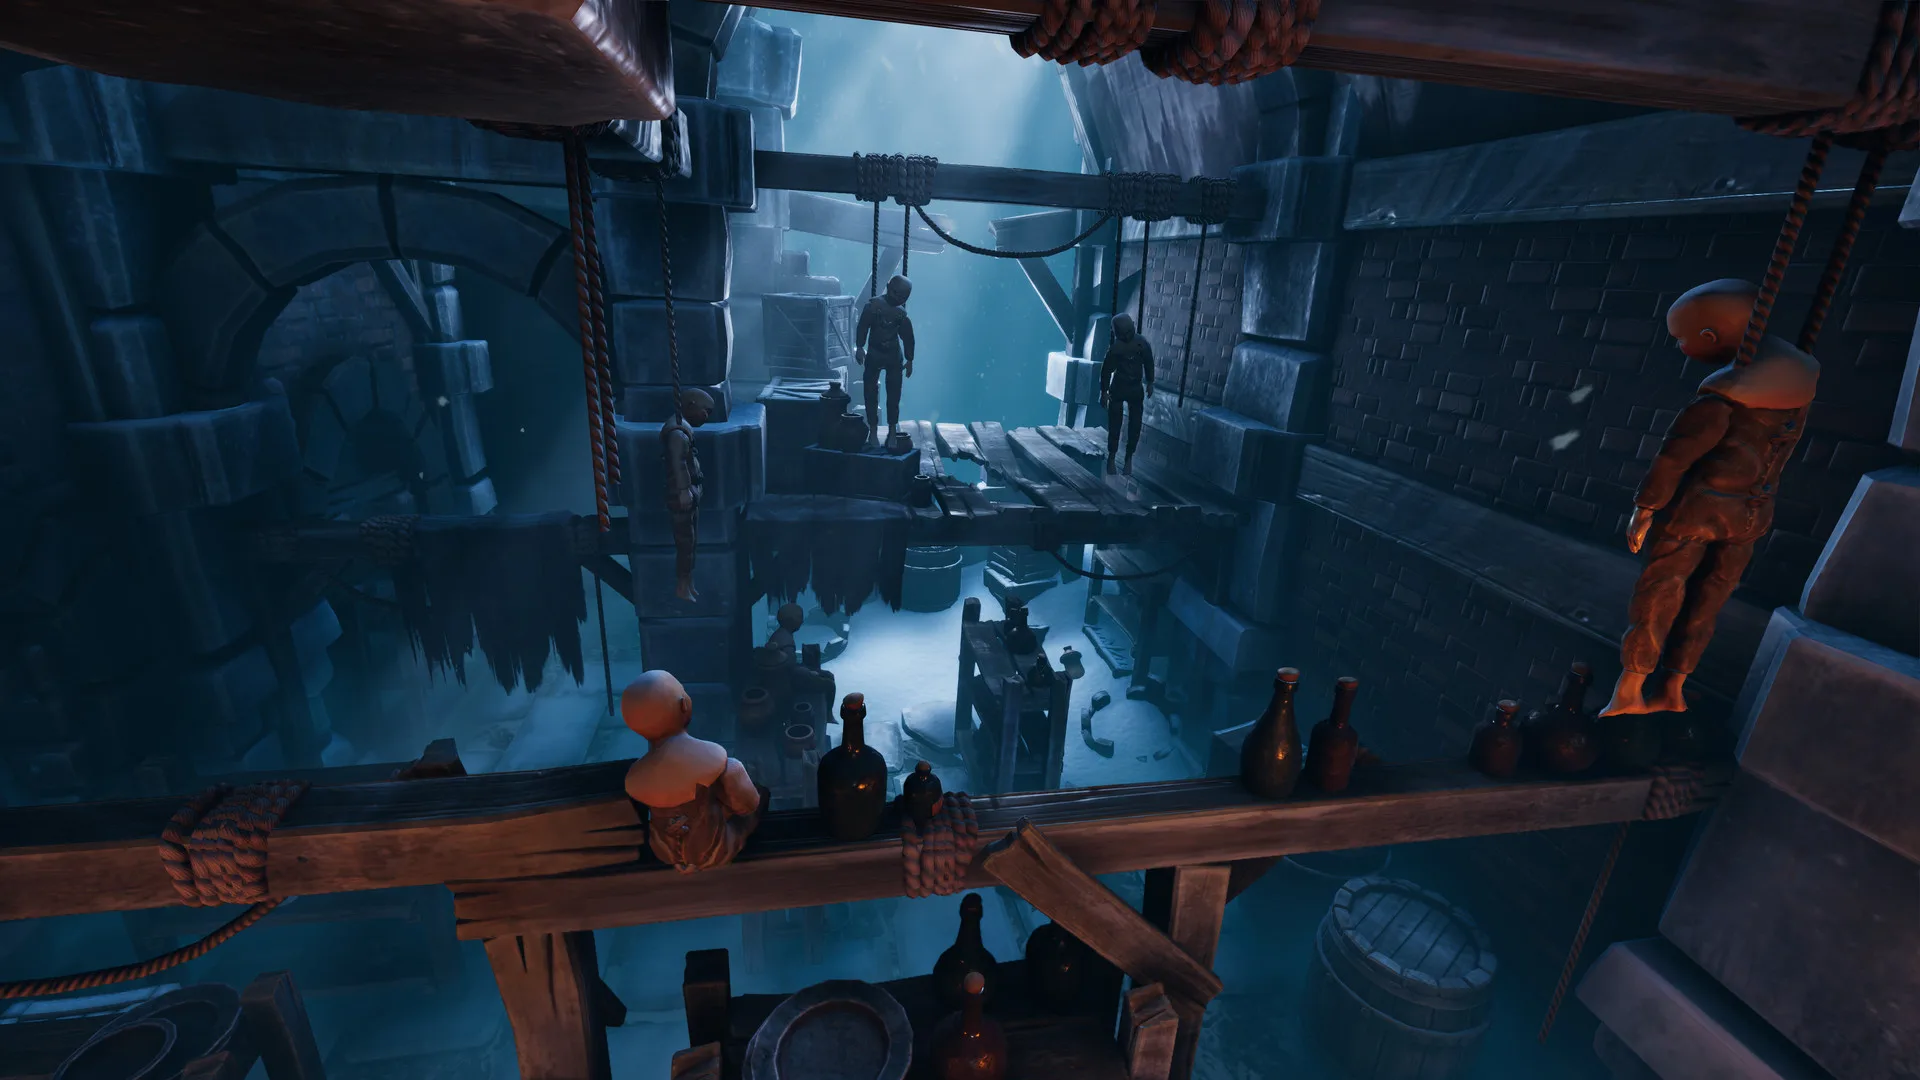
- Graveyard puzzle core: One player reads gravestone and marker clues, the other matches them to interactive objects.
- Communication first: Establish consistent names for every symbol before touching any mechanism.
- Asymmetric clues: Neither explorer can solve this section alone; both sides hold partial information.
- Position language: Use fixed directions like "top-left" or "second from the right" when describing markers.
- One change at a time: Test each interaction individually so you can track what changed.
How the Graveyard Puzzle Works
The Graveyard is one of the major mid-to-late game regions in We Were Here Forever, sitting between the abandoned settlement of Rockbury and the descent into the frozen underground depths. Like every area in this two-player co-op adventure, the We Were Here Forever graveyard puzzle is built around asymmetric information: one explorer sees markers, inscriptions, or layouts that the other cannot inspect, while the other explorer holds the controls, objects, or pathways needed to act on those clues.
The puzzle focus in this region shifts toward observation, matching clues, spatial reasoning, and communication. Rather than a single mechanism, the Graveyard typically chains several smaller environmental challenges together, so losing track of which clue has already been used is the most common way teams get stuck.
| Element | Player A (Reader) | Player B (Operator) |
|---|---|---|
| Gravestone inscriptions | Reads and describes them aloud | Cannot see them directly |
| Markers and structures | Notes position, shape, orientation | Interacts with related objects |
| Environmental clues | Reports landmarks and surroundings | Acts on matching targets |
| Mechanisms | Observes results of changes | Activates controls one at a time |
Before starting, both players should verbally confirm what they can each see: interactive objects, symbols, routes, and anything that looks like a mechanism. Most failed Graveyard attempts happen because one player assumed the other could see the same gravestone details.
Step-by-Step Solution Approach
The exact solution layout varies because each explorer experiences a different side of the area, but the solving pattern is consistent. Follow this sequence whenever you enter a new part of the Graveyard.
Survey Both Sides
Each player walks their accessible area and reports every gravestone, marker, symbol, door, and mechanism. Do not skip objects that seem decorative; the Graveyard frequently hides functional clues in plain sight.
Name Every Symbol
Agree on short, memorable names for each distinct symbol or marker type, such as "crown," "eye," "hook," or "crossed lines." Keep using the exact same names for the entire section.
Match Clues to Objects
The reader describes each clue by position first, then appearance. The operator finds the corresponding object or control and confirms the match out loud before interacting.
Activate One Mechanism at a Time
Trigger a single control, then have the observing player describe exactly what changed in the environment. This preserves your understanding of the puzzle state.
Confirm the Route Opens
Many Graveyard actions unlock paths for the other player rather than yourself. Confirm both explorers can see the new opening before moving on, and note which clues were already consumed.
Do not rush through marker descriptions with vague phrases like "the one on the left." With multiple similar gravestones, always anchor descriptions to a fixed reference point, such as "nearest the chapel wall" or "second row, third from the path."
Communication Techniques Compared
The Graveyard section punishes sloppy communication more than quick reflexes. These techniques consistently produce faster solves.
Position-First Naming
- Anchor to landmarks, not screen edges
- Works well for gravestone rows
- Reduces wrong-object matches
Grid Referencing
- Assign rows and columns mentally
- Ideal for dense marker clusters
- Both players track identical layout
Sequential Confirmation
- Read, repeat, act, confirm
- Best for ordered interactions
- Prevents skipped clues
| Technique | Best For | Difficulty | Common Failure |
|---|---|---|---|
| Position-first naming | Scattered gravestones | Easy | Changing reference points midway |
| Grid referencing | Ordered marker layouts | Medium | Miscounting rows under pressure |
| Sequential confirmation | Ordered activation steps | Medium | Skipping the repeat-back step |
| Countdown coordination | Timed paired actions | Hard | Acting before partner confirms ready |
"Top-left gravestone, the one with the crown symbol. Confirm crown." Once your partner repeats "crown confirmed," you both know exactly which clue is in play. Short confirmations like "ready," "activate," and "stop" keep both explorers synchronized.
Troubleshooting When Stuck
If progress halts, the cause is almost always overlooked information rather than a wrong answer. Use this diagnostic table before guessing.
| Symptom | Likely Cause | Fix |
|---|---|---|
| No reaction from mechanisms | Unconsumed clue elsewhere | Retrace the full area for missed markers |
| Wrong object activated | Vague position description | Re-anchor clues to fixed landmarks |
| Path opened for wrong player | Actions benefit the other explorer | Swap who operates and who observes |
| Lost track of puzzle state | Multiple changes at once | Reset to the last confirmed state |
| Partner mishears symbols | Inconsistent naming | Re-establish the shared symbol vocabulary |
When stuck anywhere in the Graveyard, return to the beginning of the current puzzle and compare every visible clue again. Missing information is usually caused by one player overlooking an object, symbol, route, or environmental detail.
Graveyard Readiness Checklist
Run through this checklist as a team before and during the Graveyard section to keep your run smooth.
Graveyard Puzzle Checklist:
- Both players surveyed their full accessible area
- Shared symbol vocabulary agreed and repeated back
- Every gravestone described with position first
- Only one mechanism activated per test cycle
- Each change confirmed by the observing player
- Route openings verified by both explorers
FAQ
Q: Can the We Were Here Forever graveyard puzzle be solved solo?
No. The Graveyard, like the rest of We Were Here Forever, is designed around exactly two players receiving different information. Neither explorer holds enough clues or access to complete the section alone, so a partner with voice communication is required.
Q: Why does nothing happen when my partner activates a mechanism?
The most common cause is an unconsumed clue. Retrace both sides of the area for missed markers or inscriptions. Also check whether the action opened a path on the other player's side instead of producing a visible change near the mechanism.
Q: How do we avoid confusing similar gravestone symbols?
Give every distinct symbol a short fixed name and use position-first descriptions anchored to permanent landmarks. Have the other player repeat each name back before acting, so both of you are always referring to the same clue.
Q: Where does the Graveyard fit in the overall progression?
The Graveyard is a mid-to-late region reached after the Castle Rock sections and the Rockbury settlement. Completing it opens the route toward the frozen underground depths and the longer cooperative sequences near the end of the adventure.
Once the Graveyard is cleared, expect longer mechanical puzzles in the frozen depths. The communication habits you sharpen here, especially one-change-at-a-time testing and sequential confirmation, become essential in the final escape sequence.